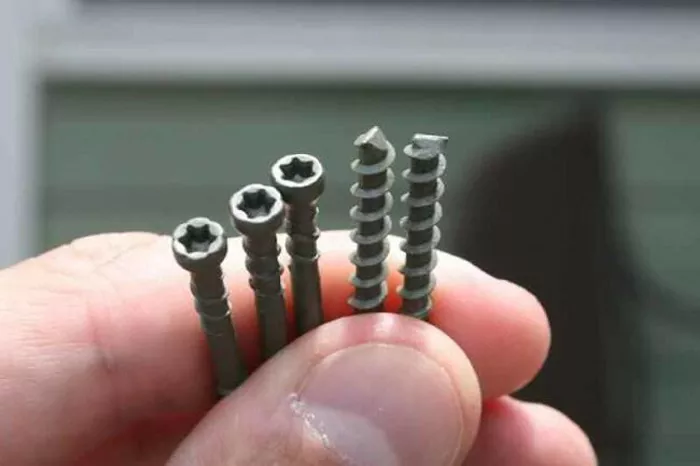
Removing a stripped screw can be frustrating, but with the right tools and techniques, it’s a solvable problem. Stripped screws occur when the head of the screw becomes worn or damaged, making it difficult to grip with a screwdriver. Whether you’re tackling a DIY project or dealing with a stubborn screw at work, this guide will provide clear steps to get the job done without damaging your project further.
What Causes a Screw to Get Stripped?
Before diving into solutions, understanding why screws get stripped can help prevent the issue in the future:
Using the Wrong Tool: Mismatched screwdrivers and screws are a common culprit.
Excessive Force: Over-tightening screws can damage the head.
Low-Quality Screws: Cheap screws are often made from soft metals that strip easily.
Angle Misalignment: Applying pressure at an angle instead of straight down can wear the screw head unevenly.
Avoiding these mistakes will save you time and effort in the long run.
Essential Tools You Might Need
To remove a stripped screw, you’ll need some common tools and a few specialty items, depending on the severity of the damage:
Rubber Band: Provides extra grip for light stripping.
Pliers: Useful for screws sticking out slightly.
Screw Extractor Kit: Designed specifically for removing stripped screws.
Drill: For creating a new grip point or removing the screw entirely.
Hammer and Flathead Screwdriver: For tapping and loosening stubborn screws.
Duct Tape: Another household item for improving grip.
Having these tools handy will prepare you for most situations.
Step-by-Step Methods to Remove a Stripped Screw
1. Try the Rubber Band Trick
If the screw is only slightly stripped, this simple trick often works:
- Place a wide rubber band over the screw head.
- Insert your screwdriver into the screw head, pressing firmly into the rubber band.
- Slowly turn the screwdriver to loosen the screw.
The rubber band adds friction, helping the screwdriver grip the screw better.
2. Use a Screwdriver with a Larger or Smaller Head
Sometimes switching to a screwdriver with a slightly different size or shape can do the trick:
- Choose a larger or smaller screwdriver that fits more snugly into the screw head.
- Apply steady pressure and turn slowly to avoid further damage.
This method works best for screws that aren’t deeply stripped.
3. Leverage Pliers for Extra Torque
If the screw head is exposed:
- Grip the screw head tightly with locking pliers (e.g., Vise-Grips).
- Turn the pliers counterclockwise to loosen the screw.
This method provides excellent control and reduces the risk of further stripping.
4. Tap the Screwdriver with a Hammer
For screws stuck due to paint, rust, or debris, try this:
- Place a flathead screwdriver over the screw head.
- Tap the handle gently with a hammer to create a new grip point or loosen debris.
- Turn the screwdriver while maintaining firm pressure.
This approach works well for stubborn screws in wood or metal surfaces.
5. Use a Screw Extractor
For severely stripped screws, a screw extractor kit is the most reliable option:
- Drill a small hole in the center of the stripped screw using a drill bit.
- Insert the screw extractor into the hole.
- Turn the extractor counterclockwise to grip and remove the screw.
Screw extractors are designed for this exact purpose, making them invaluable for tough jobs.
6. Create a New Groove
If other methods fail, you can cut a new groove into the screw:
- Use a rotary tool or hacksaw to create a straight slot across the screw head.
- Insert a flathead screwdriver into the new groove.
- Turn slowly to loosen the screw.
This method is particularly useful for screws with completely rounded heads.
7. Drill Out the Screw
As a last resort, drilling out the screw may be necessary:
- Select a drill bit slightly smaller than the screw’s shaft.
- Drill directly into the center of the screw head until it breaks free.
- If needed, remove the remaining screw shaft with pliers.
This method should only be used if the screw cannot be salvaged.
Tips for Preventing Stripped Screws
To avoid stripped screws in the future, follow these preventive measures:
- Use the Right Tool: Match the screwdriver to the screw head type and size.
- Apply Steady Pressure: Turn screws slowly and evenly.
- Choose Quality Screws: Invest in screws made from durable materials.
- Lubricate Screws: Apply a small amount of lubricant (e.g., WD-40) to ease insertion or removal.
Being mindful of these tips can save you from future frustrations.
When to Call a Professional
If none of these methods work or the stripped screw is in a critical area (e.g., structural support), it’s best to consult a professional. Trying to force the issue could result in further damage.
Final Thoughts
Removing a stripped screw doesn’t have to be a nightmare. By following these step-by-step methods, you can tackle even the most stubborn screws with confidence. Start with the simplest techniques, such as the rubber band trick or using pliers, and escalate to tools like screw extractors or drills if needed.
By preventing screw stripping in the first place and knowing how to address it effectively, you’ll save time, energy, and possibly your project. Keep this guide handy for the next time a screw decides to put up a fight!
Related topics:
- Ryobi Inverter Generator Review: Performance, Features, And Value
- Milwaukee Vacuum Cleaner: A Comprehensive Review
- The Best Drill Bit For Ceramic Tile: A Comprehensive Guide

